If you hover the cursor over a tool, a tooltip is displayed after a second or so. This indicates the command that is performed if you click it.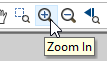
Toolbars provide shortcuts to many of the menu commands. By default, toolbars are displayed immediately below the menu bar and down the right side of the main window.
If you hover the cursor over a tool, a tooltip is displayed after a second or so. This indicates the command that is performed if you click it.
Only a subset of the tool set is displayed in the toolbars. You can modify existing toolbars and create new ones using the Customize command.
Dock and Float Toolbars
Toolbars can be docked or floating.
A docked toolbar has a “handle” on the left.

A floating toolbar has a title bar.

To move a docked toolbar:
1. Click and hold handle.
2. To float the toolbar, drag it to a new location away from the edges of the main window.
3. To dock the toolbar in a new location, drag it close to the edges of the main window and release it when it is in the correct location.
To dock a floating toolbar:
1. Click the title bar of the toolbar.
2. Drag the toolbar to the top or the side of the main window.
Show/Hide tools
Individual tools can be displayed or hidden. You can also modify the appearance and display of toolbars and tools.
1. Select the arrow at the end of one toolbar.
The Add or Remove Buttons menu is displayed.
2. Select the menu.
All the toolbars in the same row as the selected toolbar are listed.
3. Select one of the toolbars.
All the tools on that toolbar are listed.
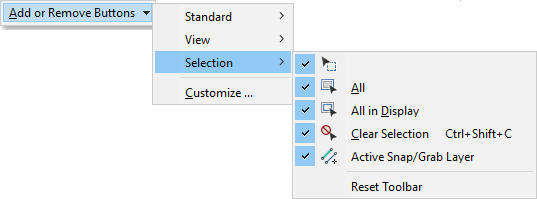
A check mark means that the tool is displayed in the toolbar.
4. Select the tools that you want displayed or hidden.
The Reset Toolbar command will restore the toolbar to its default state.
The Customize command lets you make further changes to the toolbars.